
Contents - Eclipse - Download and Install Eclipse - Setup Eclipse for Python development - Set Anaconda as the Python interpreter - Create PyDev project - Create PyDev Package
Eclipse
Eclipse is “an open extensible IDE for anything and nothing in particular”, where IDE stands for Integrated Development Environment. I use Eclipse for writing my Python scripts, and running Karttur´s Geo Imagine processing.
Java Development Kit (JDK)
Dependent on your operating system and the version of Eclipse, you might have to install a Java Development Kit (JDK). You can go ahead and skip installing JDK at this point, but if your installation of Eclipse stops with a message like To use Java command-line tools you need to install a JDK, then have a look at the post on Install Java Development Kit (JDK).
Eclipse and JDK compatibility
Some combinations of different versions of Eclipse and JDK are not compatible. Eclipse version 4.9 (2018-09) has issues with JDK version 10 and 11: there is a constant error reporting “An internal error occurred during: Polling news feeds”. In the beginning you might think it is ok to click it away, but it gets very annoying after a while. I have searched for an alternative solution to this problem, but it seems it can not be bypassed without loosing other capabilities. You just have to choose another combination of JDK and Eclipse.
Download and Install Eclipse
You can either download the default package of Eclipse via the official homepage, or choose a custom Eclipse version from the package download page. The button on the official main page will redirect you to the downloads page and if you download you will get a smaller installating app. In Mac OSX that equals a disk image dmg file. If tou go to the package download page you will get the options option to Try the Eclipse Installer YYYY‑MM R, which links to the same download package. You can also download a legacy version, in which case you will again get the same options for selecting different Eclipse packages.
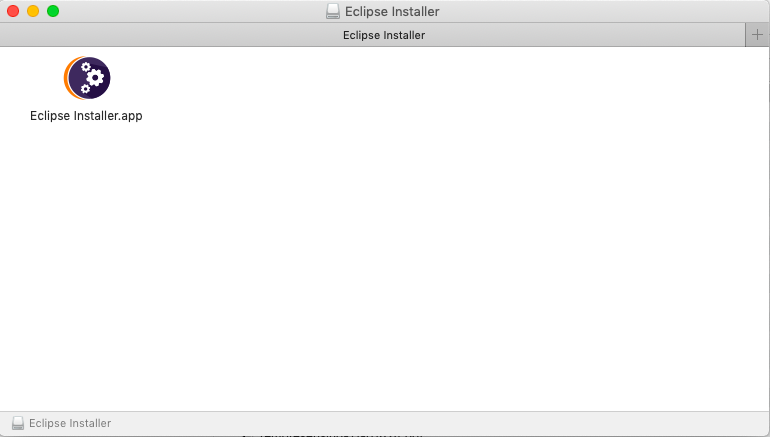
if you downloaded the Eclipse installer package, just open it (in Mac OSX just double click the dmg) file.
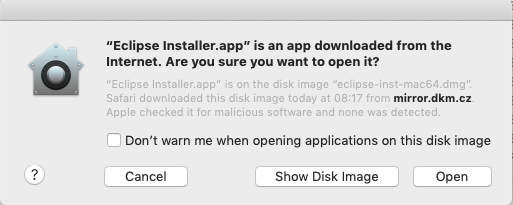
You might get a warning that the app is downloaded form the internet, just click that you accept or open the app in any case.
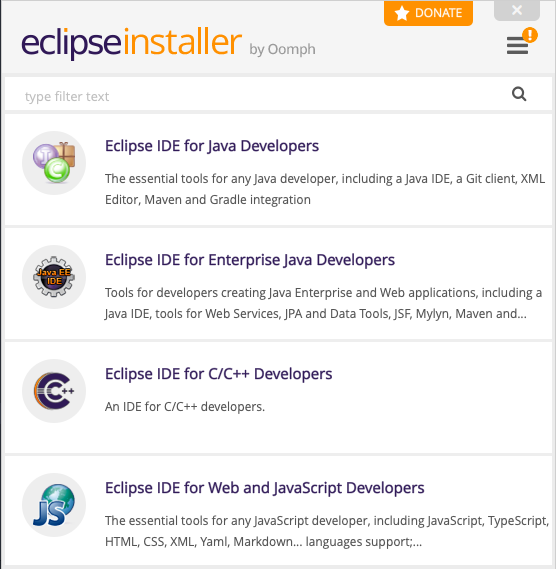
Regardless of how you choose to access Eclipse, it is enough to install the (small package) (not for EE Developers).
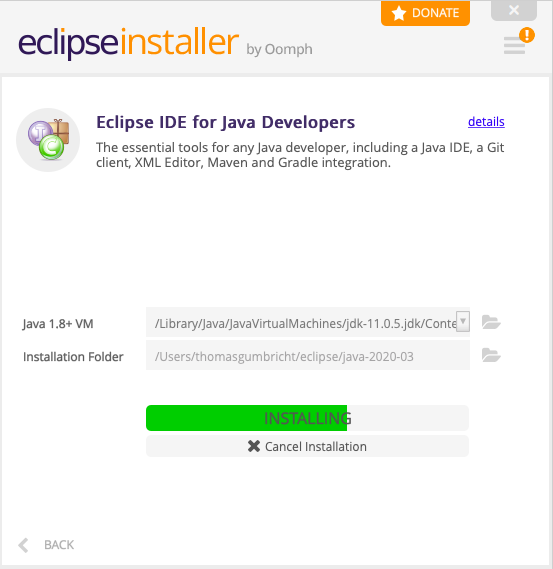
If you downloaded the small download app, it will directly create your Eclipse installation in the location of your choosing.
If you instead downloaded Eclipse (not the Eclipse Installer) as a package, you will receive another diskimage (.dmg). Double click the .dmg file, and then just drag the Eclipse.app inside the diskimage to where you want it to reside.
Eclipse is a stand alone application, so you can put it anywhere. For instance under ./documents/”version” which also allows you to have multiple Eclipse versions installed simultaneously.
Setup Eclipse for Python development
Launch Eclipse.

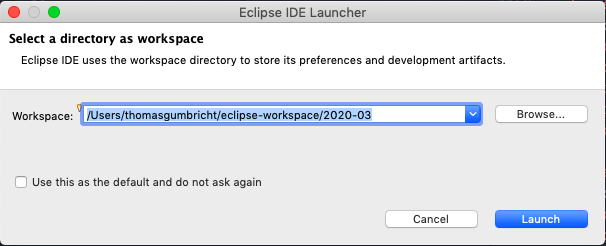
If this is the the first time you start Eclipse, the Eclipse Launcher window will pop-up and prompt you to as workspace. You can accept the suggested default, or navigate to another place where you want to save the Eclipse workspace. As the different versions of Eclipse are not fully compatible, I have chosen to have different workspaces for different versions. With the workspace name set according to the version (e.g. “2020-03” for the version installed here).
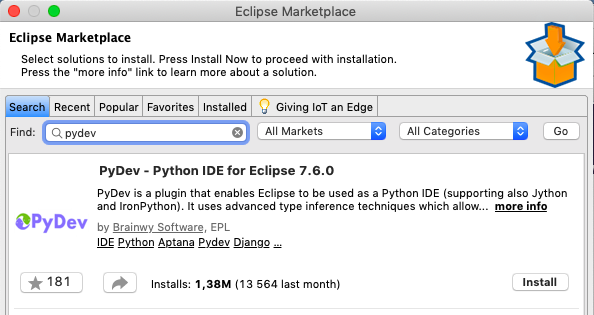
Click to continue. The next window is the Eclipse Welcome. It will present 10 or so alternatives (icons with text). From these you need to select Launch the Eclipse Marketplace.

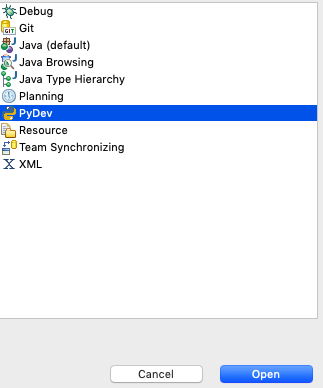
Eclipse Marketplace opens in a separate window. The marketplace contains items for extending and customise Eclipse. You need to add the Python development (PyDev) environment. Write ‘PyDev’in the search box and click the button to start searching. One of the top (or only) alternatives should be the ‘PyDev - Python IDE …’ for the version of Eclipse you just installed.
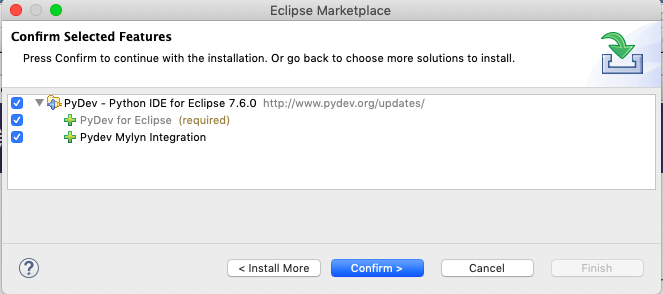
Install the PyDev - Python IDE by clicking the button next to it. In the next window that appears (Confirm Selected Features), the default selection (all suggested items).
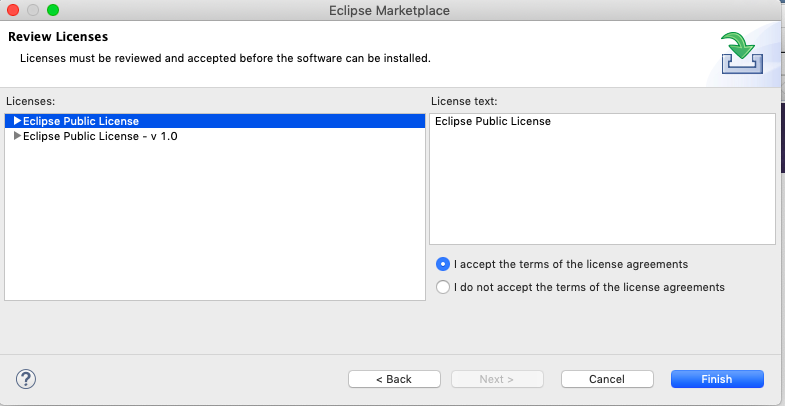
In the then next window, accept the terms of the licence agreement, and click .
Restart Eclipse to invoke the software updates. When you get to the Welcome screen the second time, after installing the PyDev - Python IDE, click the small workbench icon in the upper right corner.
Set Anaconda as the Python interpreter
With Eclipse workbench up and running, select from the top menu:
In the Preferences window that opens, click the PyDev expansion icon (>) in the menu to the left. In the expanded sub-list click the expansion icon for and click .
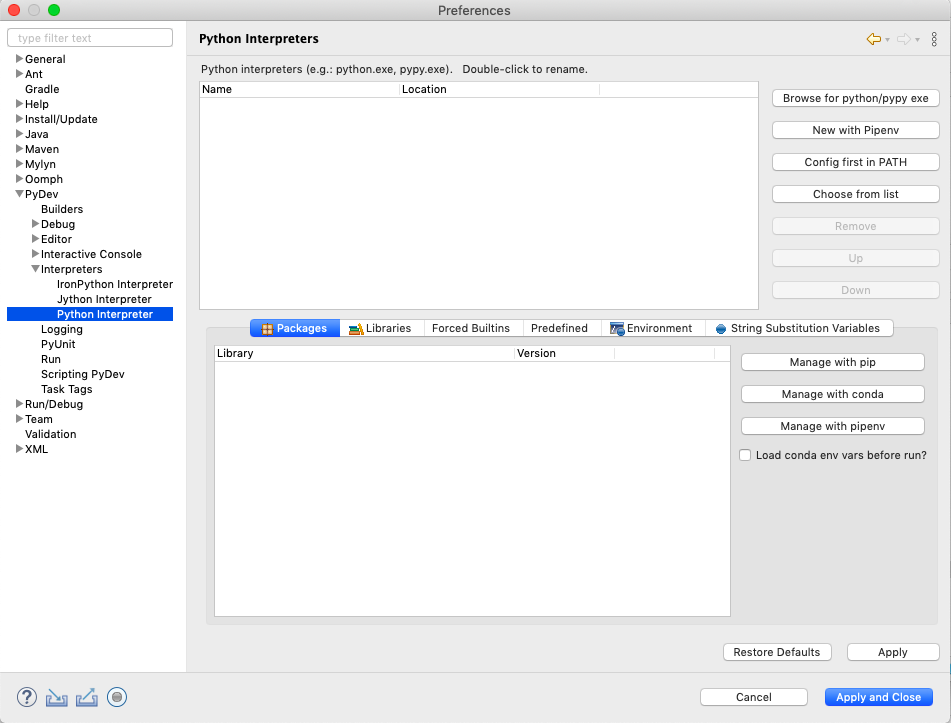
In the window that opens, click the button in the upper right corner. The dialog window Select Interpreters opens.
Virtual environment python Interpreter
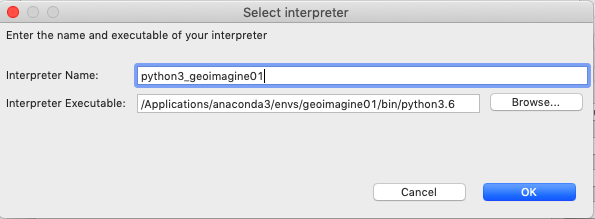
If you have setup a Conda virtual environments, the preferred method, click button next to the textbox Interpreter Executable. Navigate to the virtual environment you created (e.g. …/anaconda3/envs/geoimagine001/bin/python) and choose that file. Then edit the textbox Interpreter Name to something like ‘Python3.x geoimagine001’.
Anaconda base environment
If you did not setup a virtual Python environment you can use the Anaconda default (or ‘base’) environment as your Python interpreter. Click the button and navigate to where you installed Anaconda, and drill down to the Python executable:
…/anaconda3/bin/python
Apply the selected interpreter
Regardless of which interpreter you selected, click , and the dialog window Selection Needed appears. Accept the default selection (all listed items), and click again. All the selected Libraries and their associated Packages will be linked to your project, and show up in the lower frame of the Preferences window. When finished, click .
After the interpreter configuration is finished you will get back to the workbench main window and its panes.
The default Graphical User Interface (GUI) is for Java. You can either change it to PyDev manually or let Eclipse automatically detect that you want to run PyDev once you start building your project.
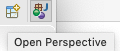
To manually set the GUI environment to PyDev, click the small icon for Open perspective. In the dialog window that opens, select PyDev.
The GUI will change to PyDev perspective and also add a small icon for this perspective in the top right corner.

Create PyDev project
Eclipse projects can either be created from scratch, or from an existing resource. Here we will start from scratch. Go via the Eclipse main menu:
If you can only choose:
accept that, and then select PyDev Project in the New Project window that opens.
In the PyDev Project window enter a project name (e.g. myPyDevProj). You can accept all the default settings after making sure that the interpreter is set to the Anaconda Python version you defined as the interpreter above (should also be the default). When you click , Eclipse will suggest that you shift to the PyDev perspective, accept the suggestion. When you return to the Workbench, the panes will change to the PyDev perspective.
Create PyDev package
Make sure the created PyDev Project (myPyDevProj) is highlighted in the Navigation pane (PyDev Package Explorer), and go via the Eclipse main menu to create a new PyDev Package:
In the Create a new Python package window, give your package a name (for example ‘myPackage’), and click . The dialog box for Default Eclipse preferences for PyDev will pop up. Click OK to accept the default settings. A file called __init__.py is created in your PyDev Package. The file __init__.py indicates that the folder (myPackage) is a Python package, even if __init__.py is completely empty.
With the package (myPackage) or the file __init__.py highlighted, create a sub-package via the Eclipse main menu:
In the dialog window Create a new Python package that opens, you should see the name of your main package already filled (‘myPackage’). To create a sub-package you should use Python syntax (rather than operating system syntax) and add a dot (.) followed by the name of the sub-package (‘mySubPackage’) (myPackage.mySubPackage).
Click to create the sub-package (‘mySubPackage’). Also the sub-package will be created with a file called __init__.py that is empty.
Create Python module
Select ‘myPackage.mySubPackage’ by clicking on it the Navigator pane, then go via the Eclipse main menu to create a Python module:
In the dialog window Create a new Python module the Source Folder should be your project (myPyDevProj), and the Package should be your package dot your sub-package (myPackage.mySubPackage). Also note that Python is case sensitive. Give your new module a Name (‘myTestModule’), and click . In the Template window that opens, select <Empty> (default choice).
Click the empty myTestModule.py file in your sub-package that you created. The file will open in the central main pane. Write the following Python code:
def PrintTest():
    print ('Hello World!')
The indent is very important as Python interprets block of codes dependent on the level of indentation. You must use the tab key to indent the line “print (‘Hello World!’)”. def tells Python that the indented text below is a function, and you can call the function PrintTest() to perform the processes defined within it. To do that, add the following line, without indent, below the PrintTest() function:
PrintTest()
The complete file myTestModule.py should then look like this:
def PrintTest():
    print ('Hello World!')

PrintTest()
Save the file, either by Command-S, or via the Eclipse main menu:
Execute (run) (myTestModule.py) from the Eclipse Main menu:
If everything is OK, a Console pane will open at the bottom of the workbench, and say:
Hello World!
Link Python packages
Navigate to the main package (myPackage) by clicking it in the Navigation pane. Create a new python module (myMainModule.py), but this time select ‘Module:Main’ from the Template window. The new myMainModule.py module will be created with some text added:
'''
Created on DD Month YYYY

@author: youruser
'''

if __name__ == '__main__':
    pass
The triple quotations ''' indicates the start and end of a comment (part of the code that is ignored when the script is compiled and executed). Single lines can also be commented by using #. The word pass indicates that nothing will be processed, but is needed to fill the indentation required by the Python interpreter.
Link your sub-package module by writing (or copy and paste) the following line after the commented block:
from myPackage.mySubPackage import myTestModule
and replace pass (while keeping the indent) with the following code:
myTestModule.PrintTest()
The complete file myMainModule.py should then look like this:
'''
Created on DD Month YYYY

@author: youruser
'''
from myPackage.mySubPackage import myTestModule

if __name__ == '__main__':
    myTestModule.PrintTest()
Save the myMainModule.py file and run it. You should again see the text Hello World! in the console, but written twice:
Hello World!
Hello World!
The first time is from when you imported the module (from myPackage.mySubPackage import myTestModule), and the second time from when the __main__ part was executed.
Eclipse is up and running PyDev using the Anaconda Python distribution.