
NOTE, 1 October 2020 the label ‘master’ was replaced by ‘main’ for the default repo branch.
Introduction
This post shows how you can use the git command line tool for cloning Karttur’s GeoImagine Framework to your local machine. The instructions are intended for developers that want to contribute towards the project. The instructions cover the required steps for forking and cloning of remotes for both origin and upstream, and the creation of a development branch. The latter is then pushed to the online GitHub repo origin owned by the developer. The post ends with a command line script that will automate all the processing except forking.
Prerequisits
You have to have a GitHub account, preferably set up to allow access using SSH, as outlined in the post on Remote repositories with GitHub.
Sign up with GitHub.com
To contribute towards Karttur’s GeoImagine Framework you have to sign up with GitHub.com - see the post on Remote repositories with GitHub.
For developers
Participating in external project development via GitHub is usually done by forking the project repo(s) and then clone the forked repo(s) to a local machine where the development takes place. Often the original GitHub project is linked as an additional remote repo (usually given the alias upstream). Individual developers then create their own branches where the developments will be commited. Suggested changes or edits can then be sent back as pull requests to the maintainers of the original (upstream) site.
The same steps are also followed in these instructions. But I also supply a command line script that automate all required local git processing for setting up the development system. Applying the script, as a developer you only need to fork the repos from github.com/karttur to your account, the script will do the rest.
Repos belonging to Karttur´s GeoImagine Framework
Karttur’s GeoImagine Framework includes approximately 40 repos. All repos contain Python packages and are named after the package with the prefix “geoimagine-“ added. The package dem is for example available in the repo geoimagine-dem, the package region in the repo geoimagine-region. Complete list of packages, all available as GitHub repositories:
- ancillary
- dem
- endmembers
- export
- extract
- gdalutilities
- gis
- grace
- image
- jekyllise
- kartturmain
- ktgraphics
- ktnumba
- ktpandas
- landsat
- layout
- mask
- modis
- ortho
- overlay
- postgresdb
- projects
- region
- scalar
- sentinel
- setup_db
- setup_processes
- smap
- soilmoisture
- specials
- sqldump
- support
- timeseries
- transfer
- transform
- updatedb
- userproj
- zipper
If you want to work with the complete Framework, you must fork all repos available at karttur’s repos that have the prefix geoimagine-.
Fork source repo
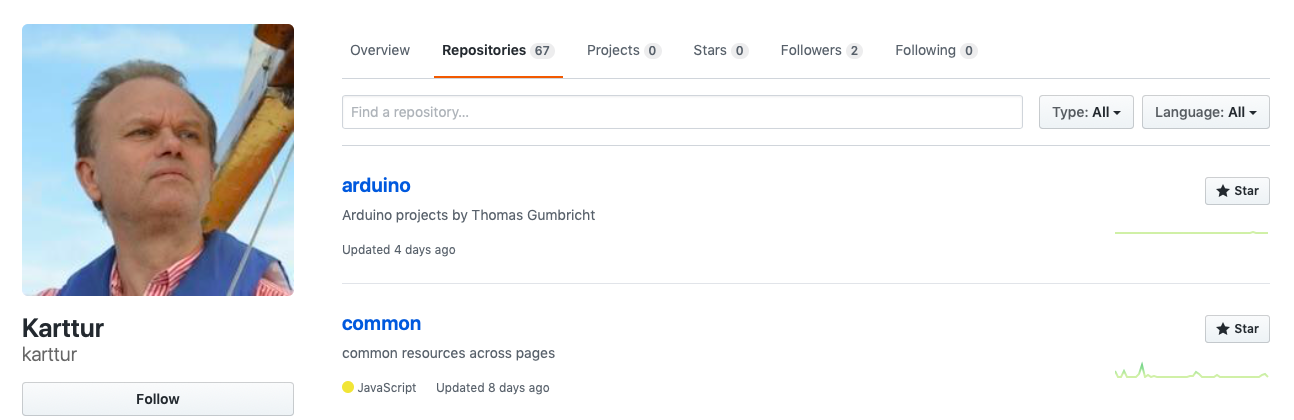
Go to the repo overview page at Karttur’s GitHub account,
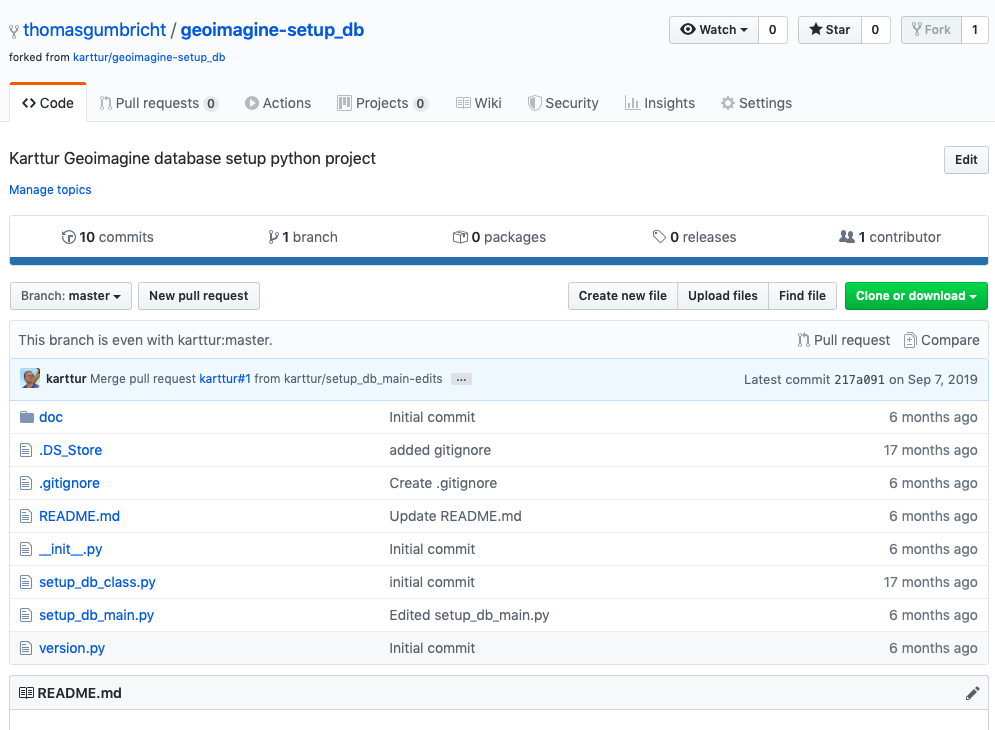
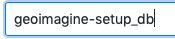 and identify (search in the Find a repository) search box the repo you want to fork. If for instance you want to work with the setup_db package you should look for the repo “geoimagine-setup_db”.
![]() Click on the fork symbol to retrieve (fork) the repo to your account.
Click on the fork symbol to retrieve (fork) the repo to your account.
Clone to local machine
As mentioned above, you can follow the step-by-step manual for cloning to the Framework to your local machine. Of you can just skip to the command line (bash) script and use it for setting up the entire Framework as git repos including remotes for both origin and upstream. The script requires that you have a SSH key for the GitHub account that received the forks of the original repos.
Clone using terminal I
Open a terminal window and change directory (cd) to the parent folder where you want to have the clone of GeoImagine package. You need to consider how you have/want to setup the PyDev Integrated Development Environment (IDE) to be used for running the Framework. That is, do you want to clone the Framework to the working directory of your IDE (for instance Eclipse) or do you want to use git terminal command for version control outside of the IDE? This post is for using git terminal commands for handling versions. How to operate git from inside Eclipse is covered in the post Setup Eclipse teamed with GitHub repository.
$ cd /path/to/framework/parent/
While the online repo has the prefix “geoimagine-” you should remove that for the local clone. That is simply done using the standard clone command git clone [source-url] [target-name].
$ git clone git@github.com:”YourGitHubAccount”/geoimagine-setup_db.git setup_db
Cloning into 'setup_db'...
remote: Enumerating objects: 10, done.
remote: Counting objects: 100% (10/10), done.
remote: Compressing objects: 100% (9/9), done.
remote: Total 124 (delta 2), reused 4 (delta 0), pack-reused 114
Receiving objects: 100% (124/124), 65.10 KiB | 653.00 KiB/s, done.
Resolving deltas: 100% (66/66), done.
cd to the cloned package/repo/directory and list (ls) the content:
$ cd setup_db
$ ls
README.md		doc			setup_db_main.py
__init__.py		setup_db_class.py	version.py
Clone using terminal II
An alternative method for cloning a repository to your local machine is to first create the directory, initiate git for the directory, link (add) to a remote repository and then pull the content from the remote repo to the local clone. The commands for the equivalent cloning done in the previous section then becomes:
$ mkdir setup_db
$ cd setup_db
$ git init
$ git remote add origin git@github.com:karttur/geoimagine-setup_db.git
$ git pull origin master
Create development branch
As a developer wanting to contribute, I suggest that you create a branch called “dev” and then use that for staging and committing development work. If you run the script below for setting up your local clone of the Framework, it includes the creation of the branch dev.
Working with branches is explored in detail in the post git branches in local repositories, expanded for use with GitHub in Remote repositories with GitHub and also how to use with forks in Forking repositories.
With the Terminal window still in your local repository, type:
$ git branch
* master
There is only one branch in your repo, master.
Create a new branch and immediately switch to this branch: $ git checkout -b dev
Switched to a new branch 'dev'
dev-readme.md
The command line script included below creates a readme file for each repo that it clones, dev-readme.md. The script then writes some basic information on the user (GitHub account name, the date of creating and the name of the PyDev package/repo) to the file. As the file constitute a change, it also supports the initial stage and commit for starting the development branch. Tho create the file manually:
$ pico dev-readme.md
# Development of Karttur's GeoImagine Framework by "YourGitHubAccount", initiated YYYY-MM-DD

## package: "package"
Hit [ctrl]+[X] to exit pico and save the edits by pressing Y when asked.
Stage and commit changes
With edits done to the readme files you can stage (add) and commit (lock in and save) the changes to your local git repository:
git add .
git commit -m 'initiated dev'
If all the files that you want to commit have already been staged before, you can shorten the two commands:
git commit -am 'initiated dev'
You can check out if anything is pending in the active branch (dev):
$ git status
On branch dev
nothing to commit, working tree clean
To get a graphical view of the commit log:
$ git log --all --decorate --oneline --graph
* a4efe67 (HEAD -> dev) initiated dev
*   217a091 (origin/master, origin/HEAD, master) Merge pull request #1 from "YourGitHubAccount"/setup_db_main-edits
From the returned message you can see that the local HEAD pointer is ahead of origin/master, origin/HEAD, master, where origin is the default alias for the primary remote repository.
Push
Confirm the remote connections of the cloned repo you are working with:
$ git remote -v
origin	git@github.com:"YourGitHubAccount"/geoimagine-setup_db.git (fetch)
origin	git@github.com:"YourGitHubAccount"/geoimagine-setup_db.git (push)
To send your local changes to your GitHub online account including the new branch dev:
$ git push -u origin dev
Enumerating objects: 5, done.
Counting objects: 100% (5/5), done.
Delta compression using up to 4 threads
Compressing objects: 100% (3/3), done.
Writing objects: 100% (3/3), 342 bytes | 342.00 KiB/s, done.
Total 3 (delta 2), reused 0 (delta 0)
remote: Resolving deltas: 100% (2/2), completed with 2 local objects.
remote:
remote: Create a pull request for 'dev' on GitHub by visiting:
remote:      https://github.com/"YourGitHubAccount"/geoimagine-setup_db/pull/new/dev
remote:
To github.com:"YourGitHubAccount",/geoimagine-setup_db.git
 * [new branch]      dev -> dev
Branch 'dev' set up to track remote branch 'dev' from 'origin'.
If you execute the extended log, you will see that the branch origin/dev has been added, and is up to date with the local dev branch.
$ git log --all --decorate --oneline --graph
* a4efe67 (HEAD -> dev, origin/dev) edits to dev-readme.md
*   217a091 (origin/master, origin/HEAD, master) Merge pull request #1 from "YourGitHubAccount",/setup_db_main-edits
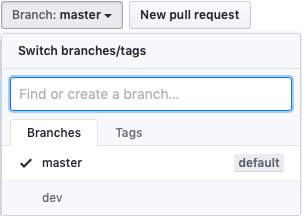
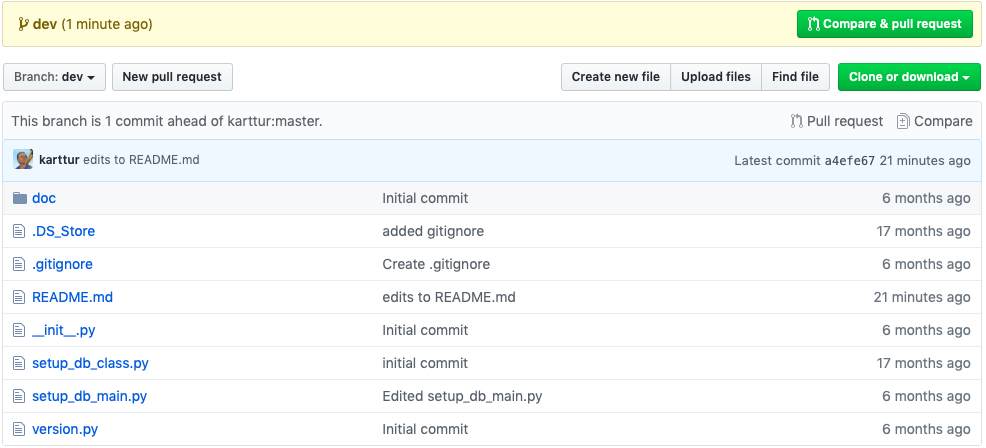
Return to your browser and your online GitHub account with the fork of “geoimagine-setup_db”. There should now be one additional branch. If you click on the button a dropdown menu shows all the branches (and some actions you can take).
Clone upstream
As a developer you probably want to keep up to date with changes in the master branch of the original repository (at github.com/karttur in this case). The git convention is to add the original master as an additional remote with the alias upstream. You are not able to push any changes to this repo, but you can fetch and merge any updates by including it as a remote. Later that will facilitate the development work, including rebasing to keep your changes in coherence with other developments and for pull request - all explained in the next post).
To clone Karttur’s original repo to your local repo as a remote with the alias upstream:
$ git remote add upstream git@github.com:karttur/geoimagine-setup_db.git
Command line script
The command line script clones both the forked (origin) and Karttur’s original (upstream) repository, create a development branch (dev) and push that to origin. To run the script you must:
- set “YourGitHubAccount”
- set “YourEmail@server.xx”
- Have a SSH key for this account and email
- select which repos to clone (default = all)
- open a Terminal window
- change directory (cd) to the parent folder for the selected repos
- copy and paste the edited code at the terminal prompt and execute
# You have to give your correct GitHub user account and email for the script to push
readonly GitHubUser="YourGitHubAccount"
readonly email=YourEmail@server.xx
thisday=$(date "+%Y%m%d")
for repo in endmembers export extract gdalutilities gis grace image jekyllise kartturmain ktgraphics ktnumba ktpandas landsat layout mask modis ortho overlay postgresdb projects region scalar sentinel setup_db setup_processes smap soilmoisture specials sqldump support timeseries transfer transform updatedb userproj zipper

do
   # create the directory that will hold the repo
   mkdir -p $repo

   # change directory into the repo
   cd $repo

   # initiate git
   git init

   # set user and email
   git config user.name "$GitHubUser"
   git config -- user.email "$email"

   # link the users master branch as origin
   git remote add origin "git@github.com:""$GitHubUser""/geoimagine-""$repo"".git"

   # pull the users master branch
   git pull origin master --allow-unrelated-histories

   # link kartturs master branch as upstream
   git remote add upstream "git@github.com:karttur/geoimagine-""$repo"".git"

   # sync kartturs master branch
   git pull upstream master

   # Create a dev-readme.md file with some basic notes
   echo "# Development of Karttur's GeoImagine Framework by ""$GitHubUser"", initiated ""$thisday" > dev-readme.md
   echo "" >> dev-readme.md
   echo "## package: ""$repo" >> dev-readme.md

   # Create a new branch, dev
   git checkout -b dev

   # stage the changes to the dev branch
   git add .

   # commit changes to the dev branch
   git commit -m "initiated dev"

   # push the changes to GitHub including a new branch
   git push -u origin dev

   # change directory to parent folder
   cd ..
done