Eclipse Installer
In this post you will first download the Eclipse Installer and then use the installer for setting up a specific Eclipse version. If you intend to use the same Eclipse project across several machines, having the same Eclipse version makes life easier.
Download the Eclipse installer
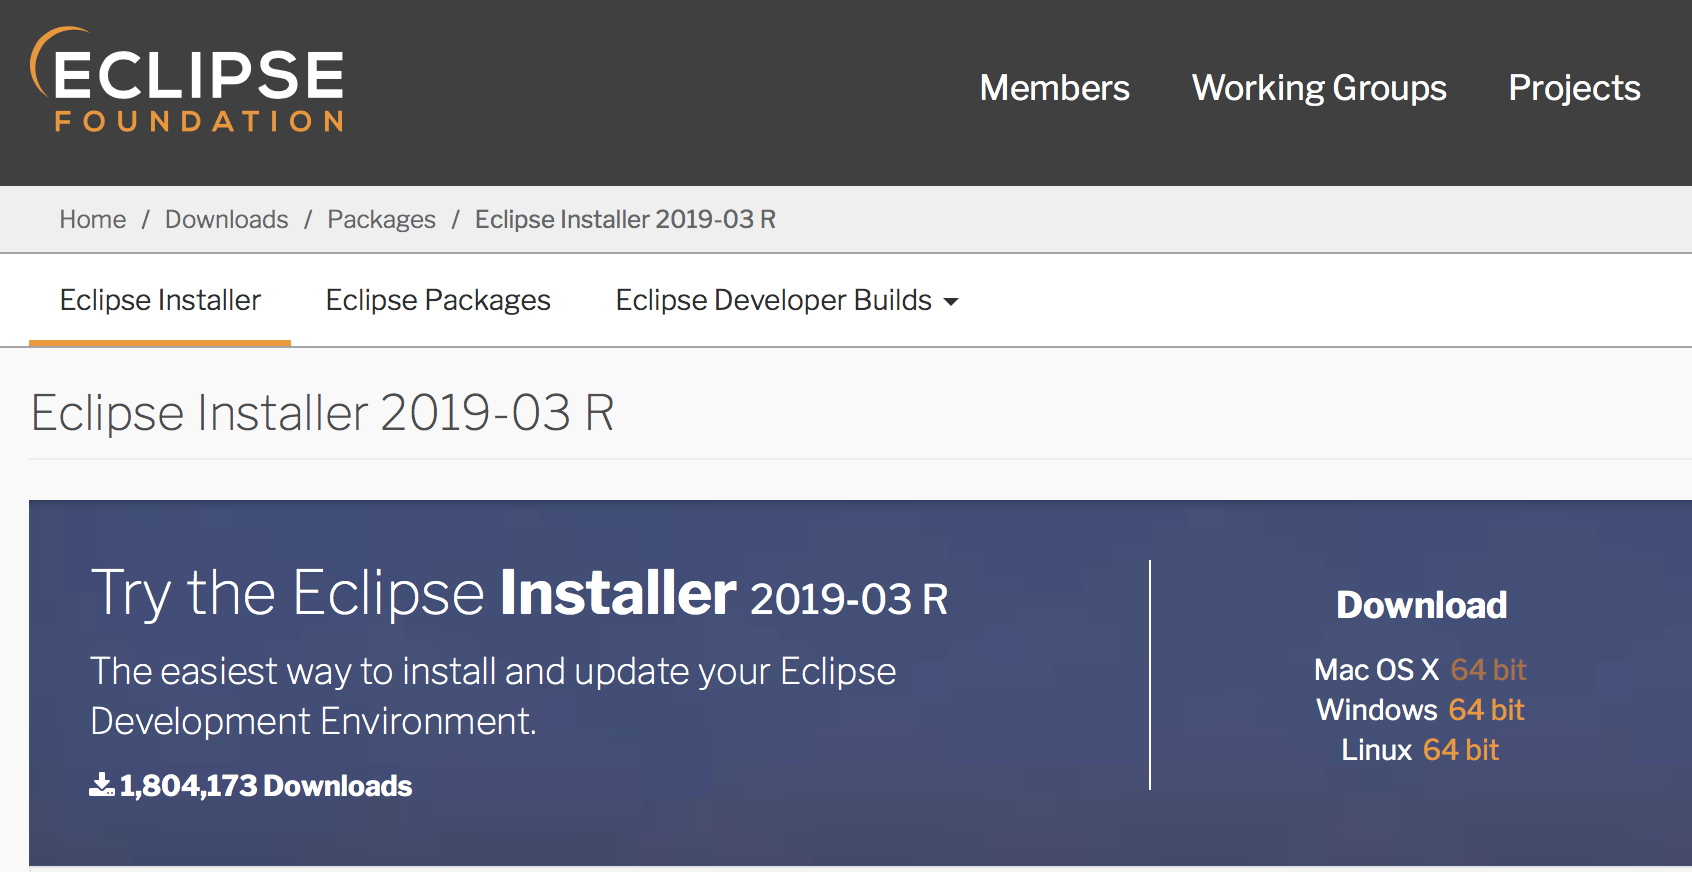
Go to the Eclipse download page and Download the installer for your operating system. For Mac OS X the installer is downloaded as a disk image (.dmg).
Open the Eclipse Installer
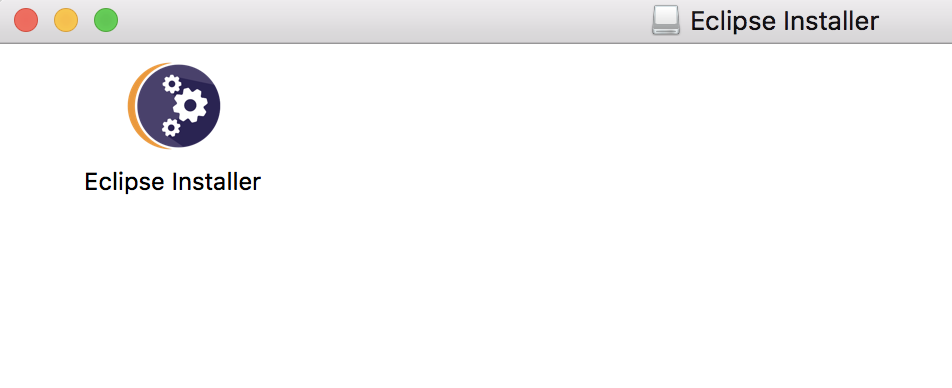
Double click the .dmg and then start the Eclipse Installer by double clicking the icon.
Select the product and version
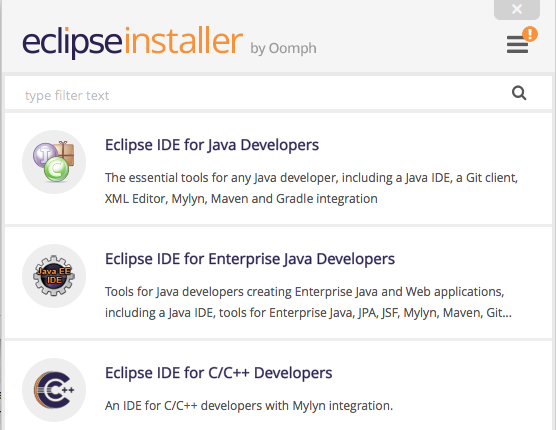
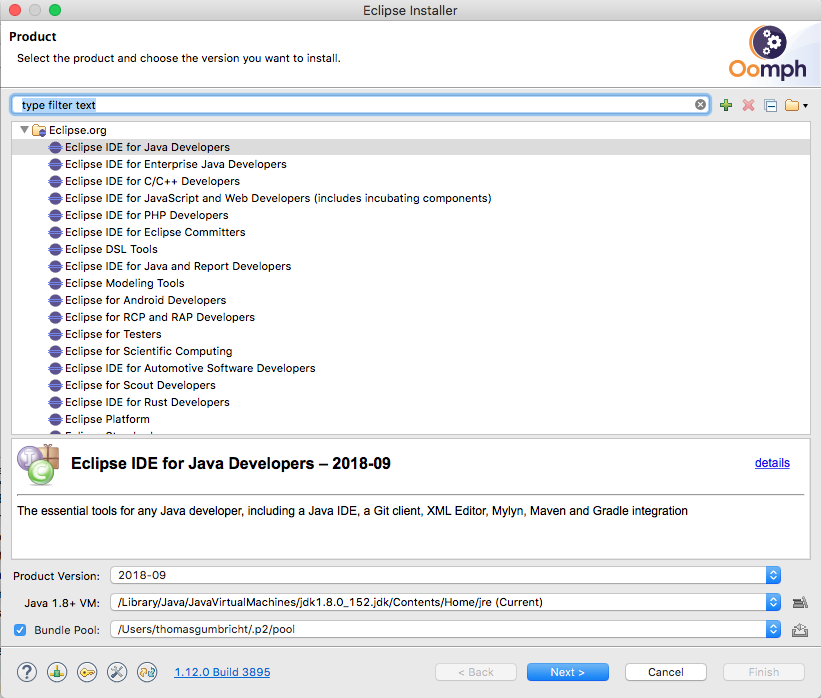
The Product opens and lets you define the Product and Product version. For setting up Karttur’s GeoImagine Framework you need the product (the top of the list in the figure below).
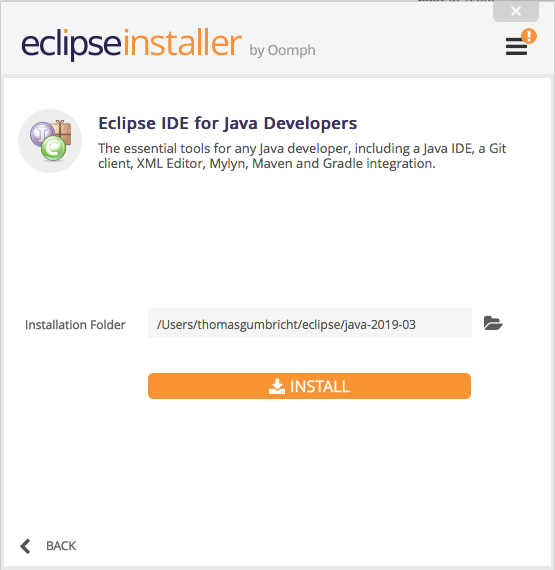
A new window opens with the selected product (Eclipse IDE for Java Developers). By default the Installer will suggest the latest version and a corresponding path. If that is what you want, just click the button.
Select version
If you want another version than the suggested default, click the icon for expanding the menu (in the upper right corner) and then click the .
In the Product window that opens you can then select which version you want to install.
Different versions are by default installed under different paths (usually under YourUser/ProductVersion). Thus you can have several products and versions of Eclipse installed on the same machine.
Install PyDev
When you start your new Eclipse product/version for the first time you need to add the PyDev package via the Eclipse Marketplace as described in this post. You might also need to update your Java installation, described in the same post.

