
Introduction
This post is a cheat sheet for how to create a repo on GitHub.com and then maintain that repo using git command line tool.
Create GitHub account + repo
GitHub is free for private users that are satisfied with public repositories. You just sign up, give your email and once you have confirmed your register via your email, and given answers to some simple questions about experiences and interests, you will land at the page “Create a new repository”.
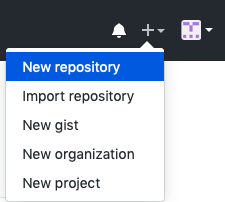
If you do not get to the page “Create a new repository”, use the navigation menu next to the avatar to select “New Repository” (as shown to the right).
Go ahead and create you first repo, the figure below shows the fields to fill.
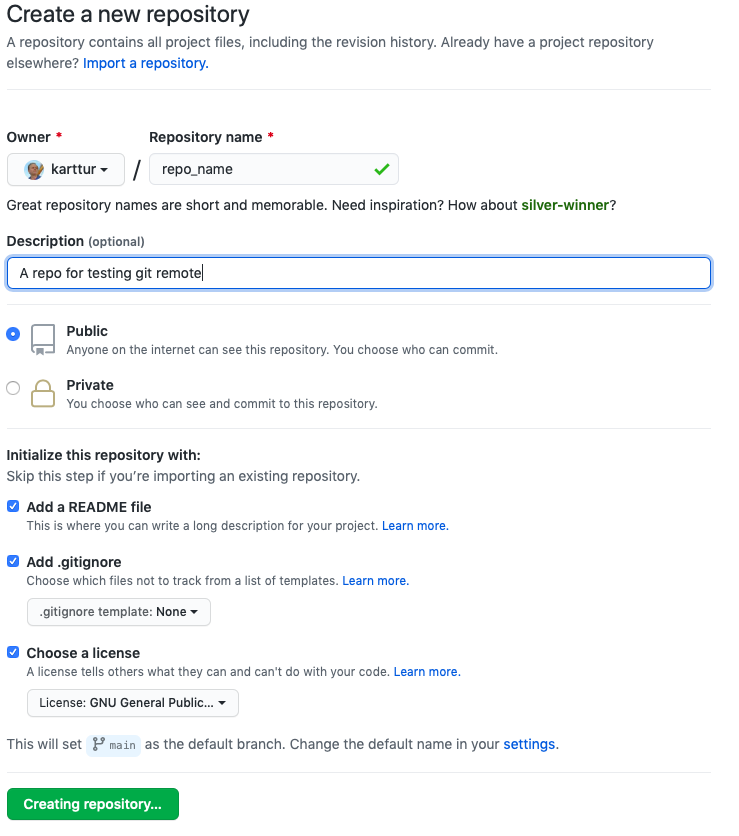
You have to give the repo a name. Also fill in a Description and let the repository be Public (to use Private repos comes with a fee). Click the check boxes for Add a README file, Add .gitignore and Choose a license as appropriate (for Karttur´s GeoImagine Framework pages I use BSD 3). Click and behind the scenes GitHub is staging and commiting.
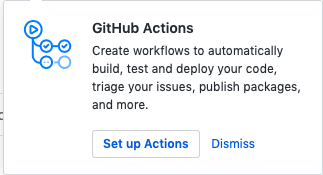
When ready, GitHub will open a page with your repo. If there is a pop-up window inquiring about GitHub Actions (as shown to the right), just click .
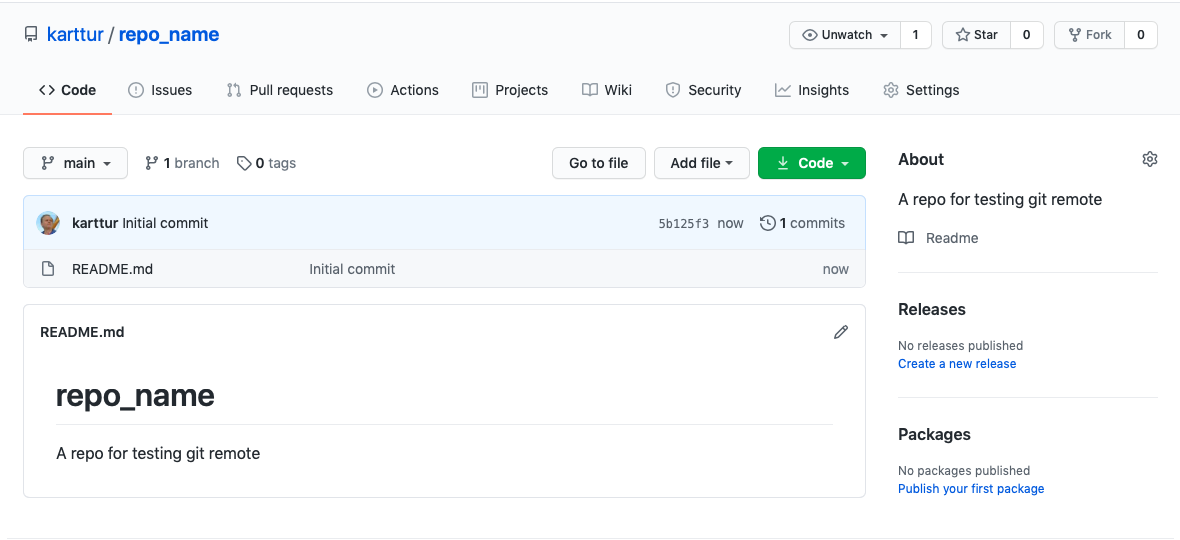
Your GitHub repo is created, including one (1) commit at branch master that locked in the README.md markdown document. All summarised on the repo page shown below.
Grab the HTTPS/SSH for a repo
Towards the right side, approximately mid down there is a button (shown below). Click on it.
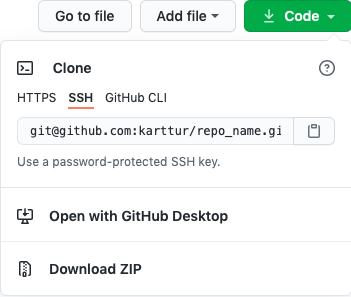
In the pop-out window select either “HTTPS” or “SSH”, dependent on your security solution when setting up git. And then copy the string in the textbox starting. This string will allow us to connect from a local git repo directly to the remote repo on GitHub.
Terminal operations
From here on all operations will rely on the Terminal. You can return to to your online GitHub repo at any time to validate that the the changes that are down locally and then pushed to the online repo are really synchronised.
Clone to local repo
Open a Terminal window and cd to the parent directory where you want to create the local clone of your remote (GitHub) repository. Then type (but do not execute):
$ git clone
If you followed the instructions in the previous section, you can now just paste ([ctrl-v]) the HTTPS/SSH link from your clipboard to the command line (for example):
$ git clone git@github.com:”name”/”repo”.git
Execute the command and your remote repo (“repo”) should clone to your local machine.
cd to new repo:
$ cd “repo”
Create the standard .gitignore</file>, using for instance pico:
$ pico .gitignore/span>
and copy + paste the following items to the .gitignore</file> file:
.DS_Store
__pycache__/
Close and save .gitignore</file>.
Set user and email
If you installed git you most likely also created a global user and global password, and an SSH key (as outlined in my instructions for git command line). If your local repo uses another GitHub account and another email, you have to set a local user and password (your terminal must be in the repo for which you are setting the credentials):
$ git config user.name “Your Name”
$ git config user.email “you@example.com”
Edit the readme.md
Edit the readme readme.md file if required. You can use pico:
$ pico readme.md/span>.
But it is a very basin text editor so better use a more advanced one, like Atom.
Add codes and data
Create or copy the code and data that you want to store into your newly created “repo”.
Add all the files:
$ git add .
Commit
$ git commit -m “initial commit”
Push
$ git push origin main
or
$ git push origin gh-pages
Check that your local clone and the remote main are synchronised:
$ git status
With a bit more bling to it:
$ git log –all –decorate –oneline –graph
Browser
Use your browser to look at your new repo