Introduction
This post explains how to clone Karttur’s GeoImagine Python project from GitHub.com with Eclipse. The advantages include that the project is directly linked (imported) to Eclipse and that you can easily access Framework upgrades from within Eclipse. To be able to push any updates back to the online (origin) you must have the rights fot the online repo.
The alternatives are to clone or download a complete copy of the Framework using GitHub Desktop or the Git commandline tool and then either import the complete Framework or build a backbone project and copy selected packages. The advantage with the latter solutions is that you then separate the cloning and working with the code, and GitHub Desktop is better than Eclipse for handling GitHub repositories, and if you prefer the command line, git is the natural choice.
The remaining part of this post is similar to the post Clone PyDev project from GitHub in the blog on Install and setup SPIDE.
Prerequisits
You can clone Karttur´s GeoImagine Python project as described in here as long as you have Eclipse installed. To create a fully functional GeoImagine Framework you must also have installed the Spatial Data Integrated Development Environment (SPIDE) as outlined in the blog Install and setup spatial data IDE.
Add GitHub repo to Eclipse
There are many online tutorials for cloning GitHub projects into Eclipse, but I have not found any that deals with cloning a PyDev project. And that is what is outlined in the rest of this post.
Clone GitHub repository with Eclipse
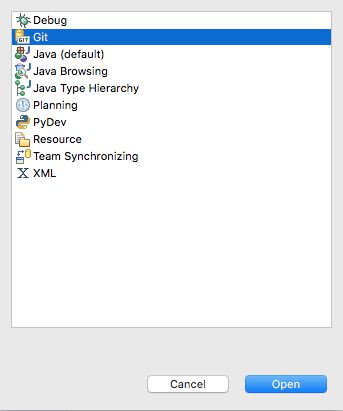
Start Eclipse. Once in, click the Open Perspective icon and select Git, or start writing “Git” in Quick access textbox.
If you get different options for which perspective to select, click the alternative for Git and then it.
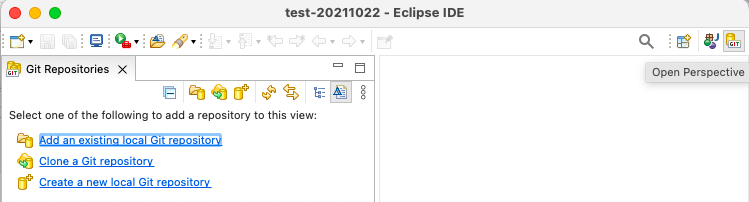
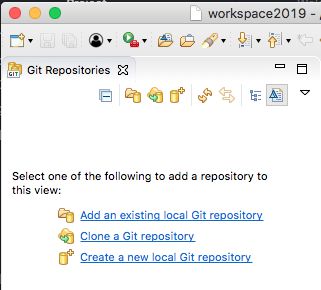
The view Git repositories should open (if not use the Quick access textbox and type Git, then select ). In the Git repositories view you should click the alternative Clone a Git repository (if no text appears slide the cursor over the icons to get the alternative Clone a Git repository and add the clone to this view).

You might be asked for Authentication to give the credentials for the selected online repo (depends on the version of Eclipse) before the dialogue window is accessible. You can always enter the Authentication directly in the window.
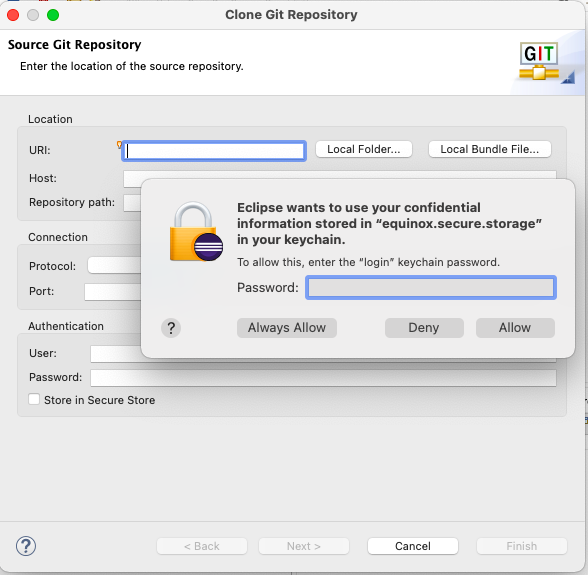
In the dialogue window for Source Git Repository, fill in the url to the repository (you can copy the path from your GitHub.com account).
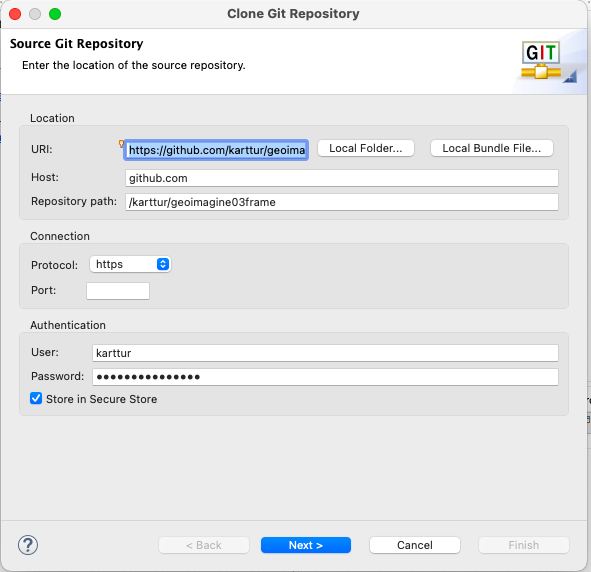
Click the button. This will take you to the Branch Selection window. Make sure main is selected and again click .
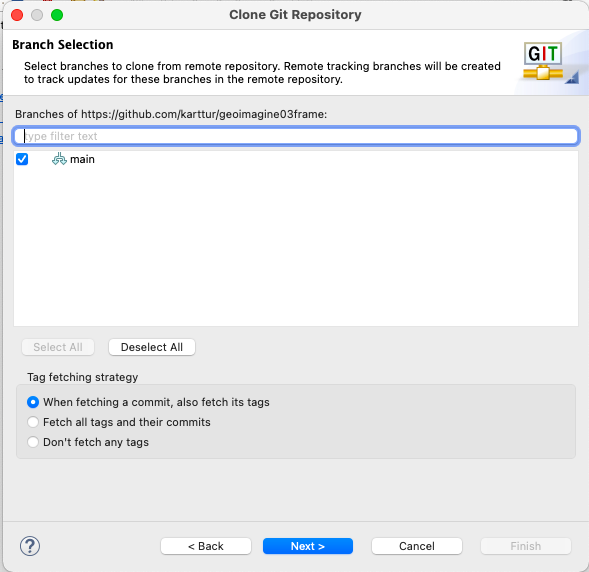
Click to continue.
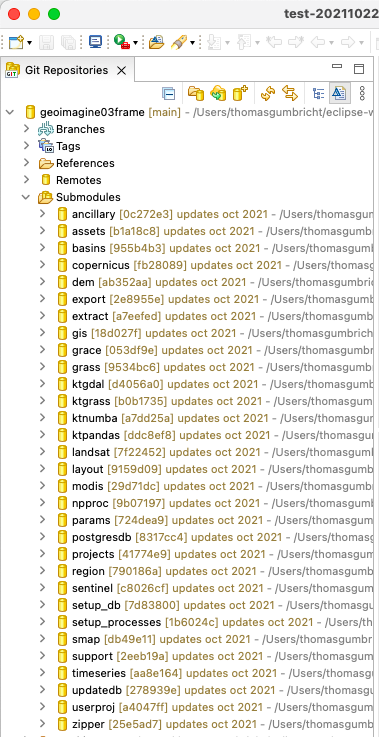
The next view is for Local Destination. Do not accept the default path (e.g. /localuser/git) as this interferes with git itself. I use the solution of a git sibling directory to the Eclipse Working directory. I use a hierarchical system of working directories, with one directory linked to one version of Eclipse. Also tick the checkbox for Clone submodules.
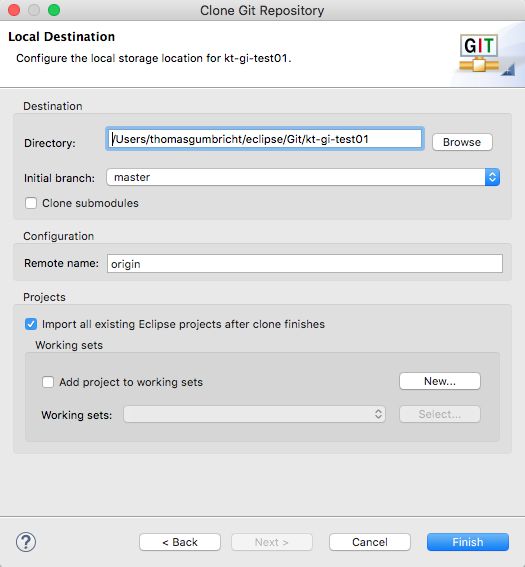
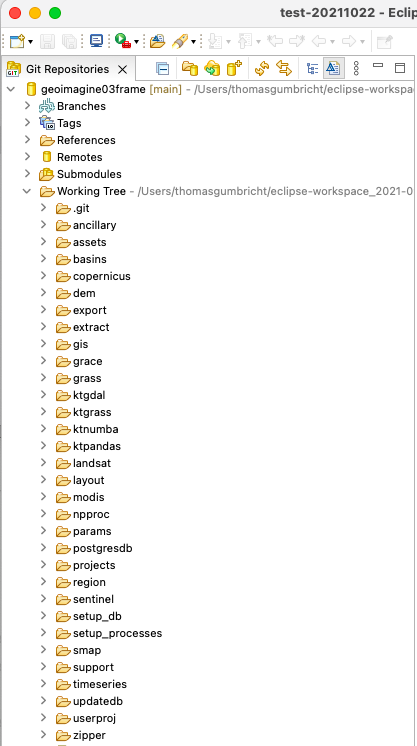
When ready, click and the GitHub remote repository should be cloned to your local machine. If it worked properly you should see the cloned repository in the Git Repositories view.
Python interpreter
Before you can start working with the GeoImagine Framework you need to set the Python interpreter to use. The post Python virtual environment is a detailed explanation for setting up a virtual python environment. The most straight forward setup is to clone the prepared environment file env_geoimagine202110_history.yml, move it to your home directory and run the command:
conda env create -f env_geoimagine202110_history.yml
If it does not work have a look at the detailed instructions
Link Python interpreter in Eclipse
From the main menu of Eclipse go to:
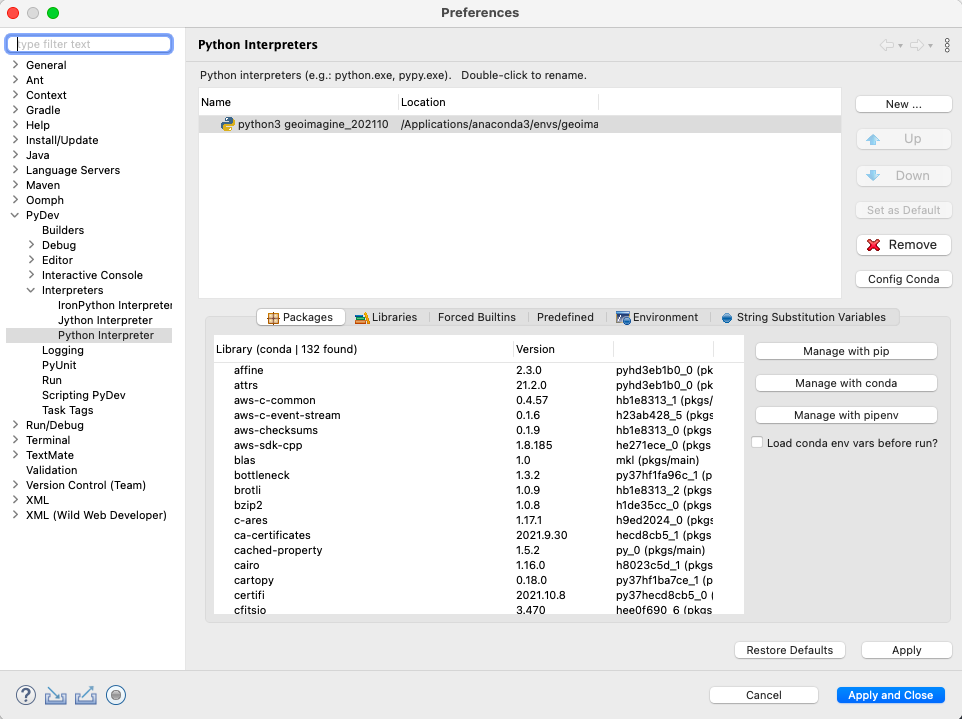
Click on the button towards the upper right corner in the Preferences window. Select the option Browse for python/pypy exe (shown above). If you have followed the blog on Install and setup SPIDE you should have a virtual Python environment setup under Anaconda that you installed as part of the post on Python virtual environment, or with the command above in this post.
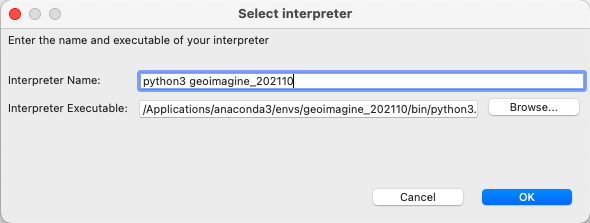
By default the virtual environments created by conda are stored under the subdirectory envs under the AnacondaX main directory. The python.exe file you need is then under the folder bin inside the particular virtual environment you want to load.

When you have found the interpreter you are looking for, fill in a name, and click .
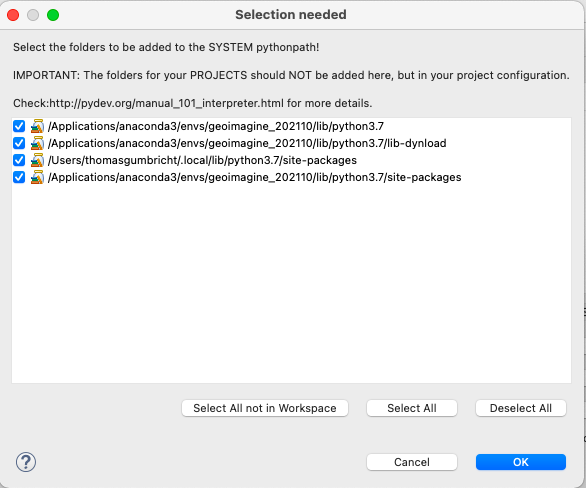
In the next dialogue window, Selection needed, make sure all options are selected and click .
When you get back to the Preferences window, click button to finish setting up the Python interpreter.
Create a new PyDev project
You should now have a local clone of the remote GitHub repository with the local clone also added to Eclipse. The next step is to create a PyDev project in Eclipse and team it to the cloned GitHub repository.
Shift to the PyDev perspective, for example via the main menu:
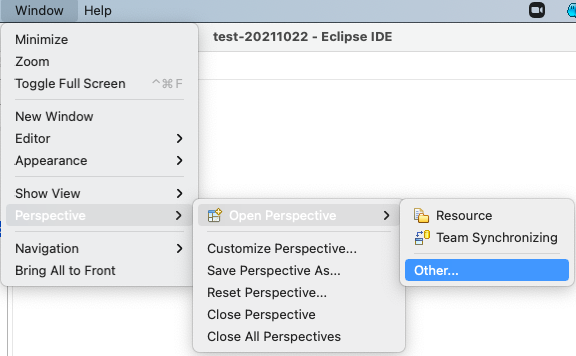
and then select PyDev in the window that opens.
Unless you did not already have another PyDev project in the Eclipse workspace, the PyDev perspective is empty (below).
To create a new project in Eclipse, either use the main menu:
,
or right click in Package Explorer (navigation) window, and select the same sequence but starting with New. In either case you will end up with the Select a wizard window where PyDev project should be an alternative. If you do not get the PyDev project alternative it is most likely because you did not install Eclipse with PyDev support as outlined in the post on Setup Eclipse for PyDev.

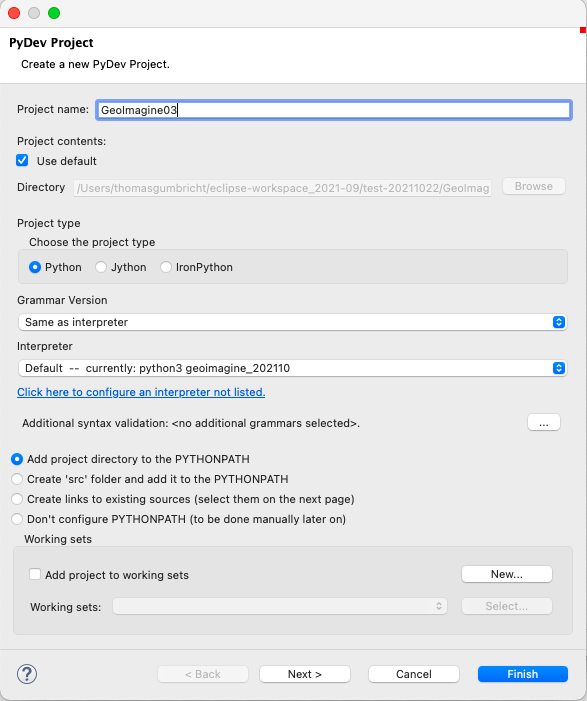
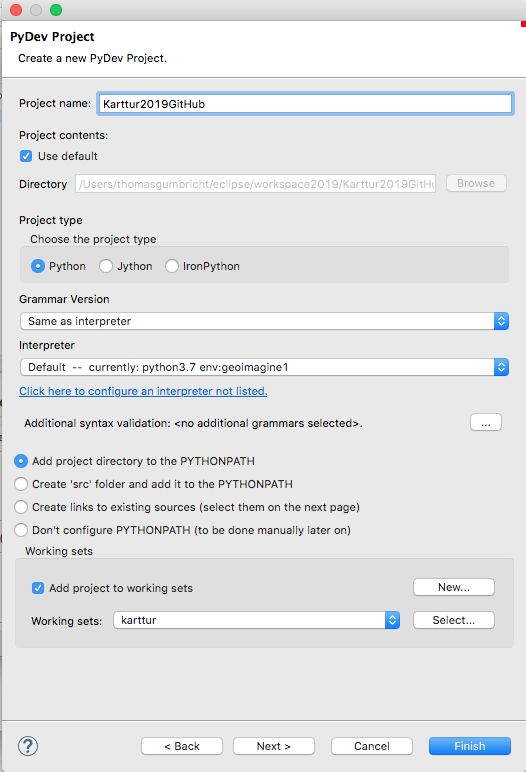
In the PyDev Project window you only have to fill in the Project name. You can leave all other entries with the default values, setting a Working set is optional. Click to create the PyDev project.
Link GitHub repository and Eclipse project
You should now have an added (cloned) GitHub repository as well as an empty PyDev project in Eclipse. It is time to link the the empty PyDev project to the cloned GitHub project.
Select (click on) the newly created PyDev project in the Package Explorer (navigation) window in Eclipse, then right click and in the pop-out menu that sequentially appears select:
In the window Configure Git Repository that opens, you should see a Repository. If not, make sure the checkbox Use or create repository in parent folder of project is un-checked.
In the textbox Repository select the repository that you just cloned. Also make sure that the target project is selected. click .
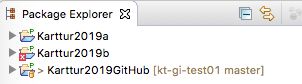
In the Eclipse Package Explorer (navigation) window, your PyDev project should now be indicated as linked (or piped “>”) to the [repository branch] (e.g. [kt-gi-test01 master]).